

Growing your own weed is part gardening, part science experiment. The plant itself is forgiving — cannabis is literally called weed because it grows vigorously — but the difference between a scraggly plant and a healthy harvest comes down to a handful of basics: light, water, air, nutrients, and timing. Get those right and the plant does most of the work.
First: is it legal for you to grow?
This is the step beginners skip, and it is the one that matters most. Home cultivation is legal in some US states and countries, restricted to medical patients in others, and fully illegal in the rest — sometimes even where buying cannabis is legal. The rules also commonly limit how many plants you can grow, whether they must be out of public sight, and whether you can grow outdoors at all. Check your state or national law before you buy a single seed, and remember that a plant that is legal in one state can be a serious offence across a state line.
Indoor vs outdoor: which should you choose?
Outdoor growing is cheaper and simpler — the sun is free, and plants can grow large — but you are at the mercy of your climate, local pests, and your neighbours’ eyes. Cannabis needs a long, warm, sunny season to finish flowering outdoors, which is why outdoor growing works best in Mediterranean-type climates. Indoor growing costs more (lights, fans, electricity) but gives you full control over light, temperature, humidity, and smell, and it lets you grow year-round regardless of the season outside.
Most beginners start indoors in a small tent, because control beats scale when you are learning. A tent also contains the smell, which becomes strong during flowering. Whatever you choose, the plant’s needs are the same — only how you meet them changes.
| Indoor | Outdoor | |
|---|---|---|
| Cost to start | Higher (lights, tent, fans) | Lower (soil, pots, seeds) |
| Control | Full control of light and climate | Weather-dependent |
| Season | Year-round | One season per year in most climates |
| Plant size | Limited by tent height | Can grow very large |
| Smell and privacy | Easier to contain | Harder to hide |
The cannabis life cycle, stage by stage
Cannabis has four main stages, and each one wants something different from you. Understanding the stages is more useful than any feeding chart, because the plant tells you what stage it is in if you know what to look for.
Germination (a few days to a couple of weeks). The seed cracks open and sends down a taproot. Keep it warm, dark, and damp — not soaked. The classic paper-towel method works, but planting directly into damp soil avoids handling a fragile root.
Seedling (roughly the first two to three weeks). The first round leaves appear, then the first serrated true leaves. Seedlings are fragile: gentle light, light watering, and no nutrients yet — the seed carries its own starter supply, and most seedling deaths come from overwatering, not underwatering.
Vegetative stage (several weeks). This is the growth engine. The plant grows stems, branches, and fan leaves as fast as it can. Photoperiod plants (the traditional type) stay in this stage while the days are long — growers typically run lights for around 18 hours a day. The longer you veg, the bigger the plant and the bigger the eventual harvest, but the more space and time it needs.
Flowering (roughly two to three months). Shortening the days triggers flowering in photoperiod plants — growers typically switch lights to around 12 hours on, 12 hours off. White hairs (pistils) appear, then buds form and swell, and the plant’s smell intensifies. This is the stage where patience matters most: harvesting early costs potency and yield.
Light, water, and nutrients: the big three
Light is food. Cannabis is a light-hungry plant, and weak light is the most common reason for thin, airy buds. Outdoors, that means the sunniest spot you have. Indoors, it means a proper grow light, not a household bulb — and keeping the light at the right distance so the plant gets intensity without heat stress. If leaves start folding upward like a taco, the light is usually too close or too hot, which is exactly what our guide to cannabis leaves tacoing covers in detail.
Water less than you think. The number one beginner mistake is watering too often. Cannabis roots need oxygen as well as water, and constantly wet soil suffocates them, leading to drooping leaves that look — confusingly — like thirst. The reliable rule is to water thoroughly, then wait until the top layer of soil is dry before watering again. Lift the pot: a dry pot is noticeably lighter than a wet one, and that weight test beats any fixed schedule.
Feed lightly. Cannabis needs nitrogen most during vegetative growth and more phosphorus and potassium during flowering, but more is not better — nutrient burn (brown, crispy leaf tips) comes from overfeeding, and it is harder to fix than a mild deficiency. Start at a low dose, watch the leaves, and increase only if the plant asks for it. Good soil with compost already contains a lot of what a young plant needs.
Training: shaping the plant for a better harvest
Left alone, cannabis grows one tall main stem with one main bud. Training spreads the plant out so more bud sites get direct light, which usually means a bigger, more even harvest. The two beginner-friendly techniques are topping (cutting the main stem’s tip so it grows two main branches instead of one) and low-stress training, or LST (gently bending and tying branches outward). Both are covered step by step in our guides to when to top weed plants and how to prune a weed plant.
One caution: training is a stress, and stressed plants need recovery time. Do not top, prune, and transplant all in the same week. And never train an autoflower the way you would a photoperiod plant — autoflowers run on a fixed internal clock, so any setback costs final size in a way a photoperiod plant can recover from. If you are growing autoflowers, you can clone them, but that comes with its own trade-offs, explained in can you clone autoflowers.
Harvest: knowing when the plant is ready
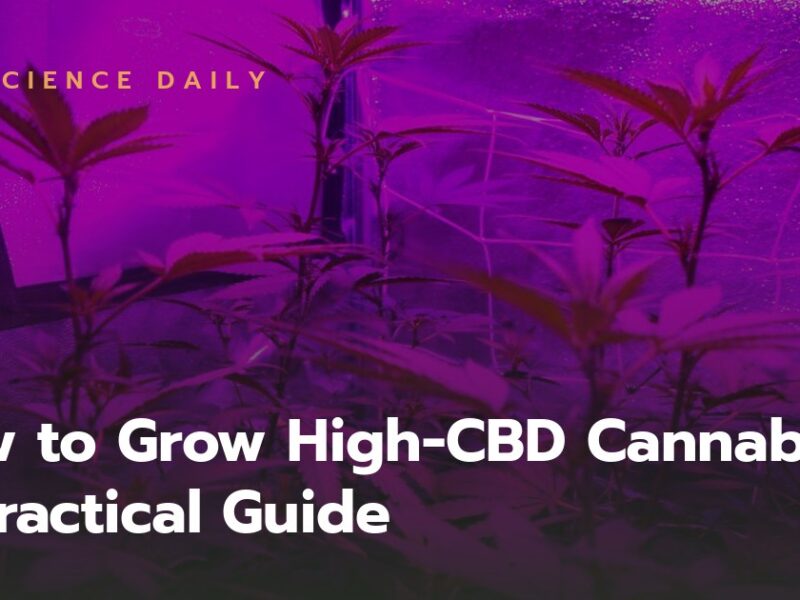
Harvest timing is where beginners lose the most quality, because the plant looks “done” before it actually is. The reliable signal is not the colour of the hairs — those can turn orange early — but the trichomes, the tiny resin glands on the buds. Under a cheap jeweller’s loupe or phone microscope, clear trichomes mean not ready, cloudy trichomes mean peak potency, and amber trichomes mean the effect is shifting heavier and more sedative. Most growers harvest when trichomes are mostly cloudy with some amber. Our guide to what trichomes look like when ready to harvest shows exactly what to look for. If you are growing for CBD rather than THC, see how to grow high-CBD cannabis.
After cutting, the work is not over. Buds need to dry slowly (roughly a week or more in a dark, ventilated space) and then cure in sealed jars, opened briefly each day at first, for several weeks. Curing is not optional fanciness — it smooths the smoke, improves the flavor, and lets the aroma develop. Buds dried too fast smell grassy and harsh no matter how well they were grown.
Common beginner mistakes
- Overwatering. Wet soil suffocates roots. Water thoroughly, then wait for the soil to dry out before watering again.
- Too much love. Overfeeding, over-pruning, and constantly adjusting things stress the plant more than benign neglect. Change one thing at a time.
- Weak light. A windowsill is rarely enough for a real harvest. If buds come out thin and airy, light is usually the reason.
- Harvesting early. Impatience at the finish line costs potency. Check trichomes, not just hair colour.
- Skipping the smell plan. Flowering plants smell strongly. A carbon filter indoors is not a luxury.
- Ignoring the law. Plant counts, visibility rules, and local bans vary — check before you grow.
Frequently asked questions
How long does it take to grow weed from seed to harvest?
Typically a few months in total, depending on the strain and setup: a few weeks of vegetative growth plus roughly two to three months of flowering for most photoperiod plants. Autoflowers usually finish faster because they flower on age rather than light cycle, but they also tend to yield less.
Can you grow weed on a windowsill?
You can grow a plant on a windowsill, but you will rarely get a satisfying harvest — window light is far weaker than direct sun or a grow light, and the plant will stretch tall and thin. A sunny balcony or a small grow light changes the outcome completely.
How much water does a weed plant need?
There is no fixed amount — it depends on pot size, soil, temperature, and plant size. The rule that works is: water thoroughly until a little runs out of the drainage holes, then wait until the top soil is dry and the pot feels light before watering again.
Do I need special nutrients to grow weed?
Not necessarily at first. Good soil with compost covers a seedling’s needs. As the plant grows, a basic cannabis nutrient set — higher in nitrogen during vegetative growth, higher in phosphorus and potassium during flowering — helps, but start at a low dose. Overfeeding harms plants more often than underfeeding.
When should I harvest my weed plant?
When the trichomes on the buds are mostly cloudy with some turning amber, checked with a loupe or phone microscope. Hairs turning orange alone is not a reliable signal — they can change colour weeks before the buds are ready.
Sources
- National Institute on Drug Abuse (NIDA) — Cannabis drug facts and plant biology overviews.
- University of California Agriculture and Natural Resources — general guidance on cannabis cultivation and plant health.
- Health Canada — home cultivation rules and plant-safety information (for the legal-framework comparison).





4 responses to “How to Grow Weed: A Beginner’s Step-by-Step Guide”